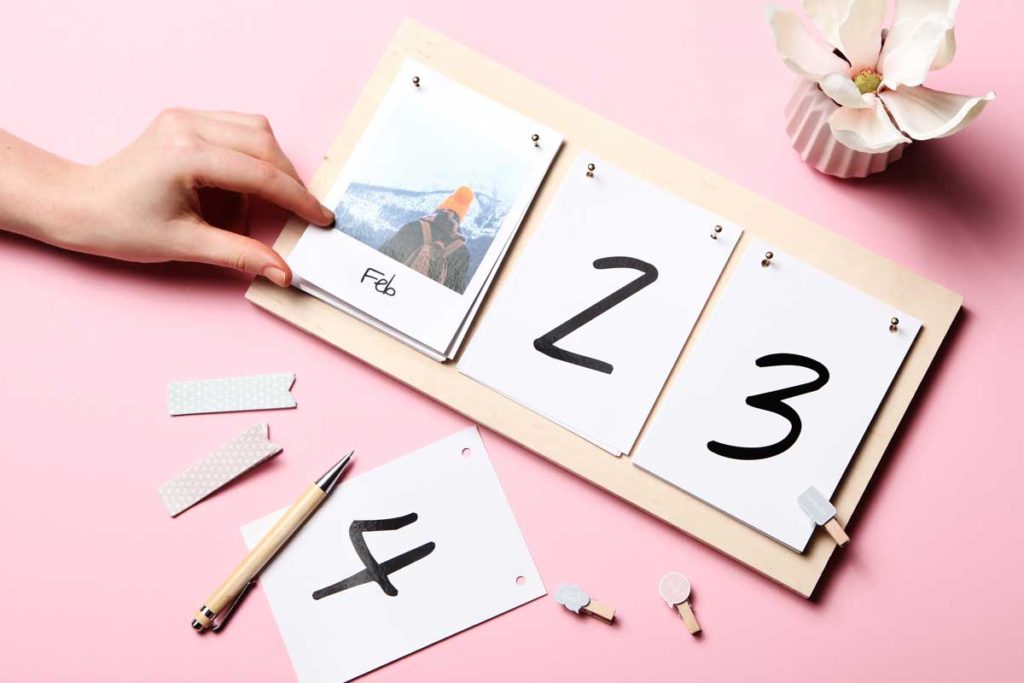
Do you love a DIY calendar made using your own photos like I do? Then you are in the right place. Because today we’re going to make a very individual and special desk calendar, which is a real eye-catcher. And the best thing about it is that you probably have all the craft materials at home already and can immediately get started with this simple 5 minute project.
DIY Calendar Step #1
Equipment

It’s worth having a quick look in your toolbox. You’ll be sure to find 6 small nails (I used 25mm long gold nails) and a hammer. You also need a wooden board. I picked up some rejected goods from the DIY store for a few cents. A hole punch in order to hang it and your favorite photos. Got everything ready? Let’s get started!
DIY Calendar Step#2
Time For Your Happiest Memories

The most important part of your DIY calendar are the calendar pages of course. For this you need to print out twelve nice photos for the monthly pages. I selected a mix of atmospheric nature photos that suit each particular month, and some of my own memories for each respective season and then labeled them with the names of the months in my best handwriting. But it’s your project: let your creativity run free!
Furthermore, your DIY calendar needs number pages for the date. You need: the numbers 0-3 each x 2, the numbers 4 to 9 each x 1. Where can you print these on strong, high-quality paper? At the MyPostcard shop of course.
DIY Calendar Step #3
Hanging Is Super Easy

Grab the hole punch and punch your photos. You can also make just one hole in the middle of the picture, which reduces the number of nails required to three. I find the 2-hole version to be more stable however, as the photos tend not to fall from the nails so easily.
DIY Calendar Step #4
Everything Is Prepared?!

What you’ve got in front of you now, are a hammer, 6 small nails, the precisely hole-punched calendar pages and the wooden board. As the calendar pages are approximately 10 x 15cm in size and you need three rows for the DIY calendar, the board should be at least 50cm in length and 15cm high. As always: There’s no need for it to be perfect, but the photos should fit on the wooden board and be aesthetically placed.
I have divided the calendar pages into three piles. The first pile is the twelve monthly pages with your own photos, the second pile consists of four numbers: 0,1,2,3. The last pile is made up of the remaining numbers.
DIY Calendar Step #5
Your Craft Skills Are Required

Of course, you can also perfectly calculate and measure the position of the nails, but our short tutorials are based on visual judgment and super-fast execution. Place the three piles in their positions, arrange them so they are straight and spaced apart evenly, and very gently mark out the punched holes. Now you know where you need to place the nails.
Final and most important tip: watch out for your fingers!
Your wooden board with the 6 nails now just needs to be equipped with your photos and numbers. Lo and behold, your very own DIY calendar is already finished. That was very simple, right? You can also color your desk calendar by painting or spraying it. I like the distinct wood look best though.
Have fun making yours!
Nadja from MyPostcard.


Comments are closed.