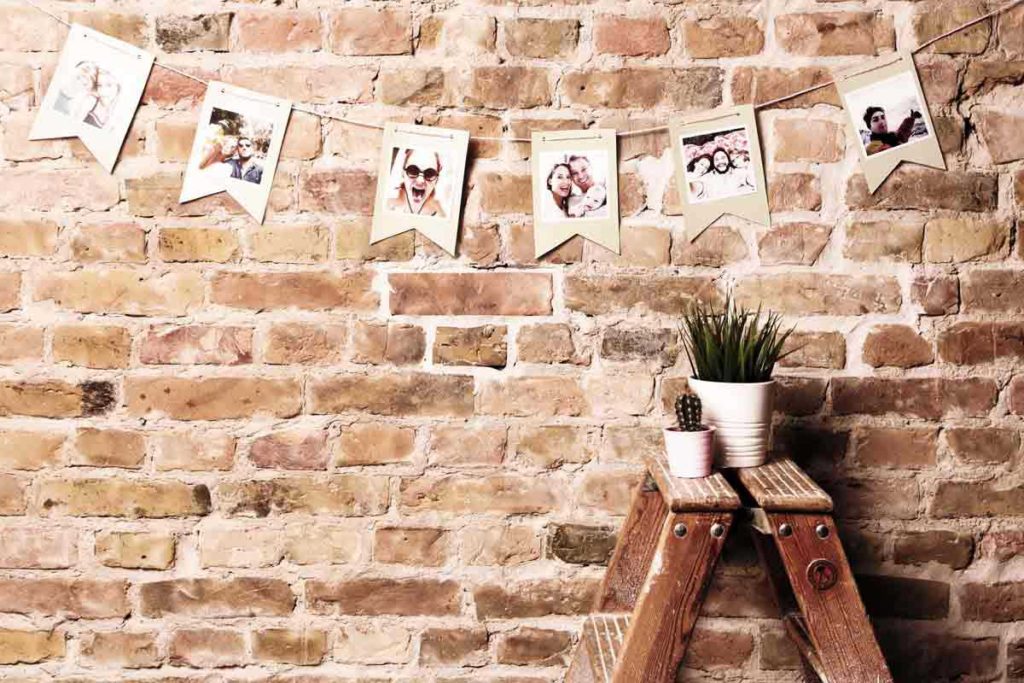
Let’s be honest: These super stylish photo garlands look pretty amazing, right? No matter if you want to redecorate your appartment or just need some ideas for a party – I’m sure this individual photo garland will be the star on every wall!
I already prepared everything it takes to create this pretty photo garland , so let’s start our little DIY- tutorial right away!
Photo Garland DIY Step 1
What you need

So here is the good news: I’m sure that you already have a lot of the things we will need for this tutorial at home. Besides a coloured card in the colour of your choice you will need: photos, a nice looking string, scissors & glue and a punch.
Photo Garland DIY Step 2
Cut the coloured card

You have the coloured card in front of you? Perfect! So just grab a pencil and draw a form of your choice. For this tutorial I chose a wimpel because it is classy, modern and very stylish. So let’s go to step one: You need to draw the wimpel down on your coloured card six times, then take the scissors and cut along the drawn lines.
Last but not least we need a solution for hanging our photo garland later on – now this is probably the easiest step: Just grab a punch and use it to create a super quick hanging for the garland.
Photo Garland DIY Step 3
It’s all about the string

After finishing step one, you have six nice wimpels in front of you. Now you need to connect them for creating a stylish and unique photo garland.
Therefore you just take the string and put it through the holes. It will work best, if you try to always keep the same distance between the different wimples. Please don’t forget to leave longer pieces at the end of each wimpel, so you can hang your photo garland to the wall when it’s ready.
Photo Garland DIY Step 4
Safe the best for last

What is missing to turn your photo garland into a unique piece of art? Damn right, your personal pictures! With MyPostcard you can print your own pictures quick and easy so that you can put them on the wimpels for this photo garland DIY.
Side fact: Dont worry! If you now realize that your colour card might be to thin to hold ,just glue together two cards to make your photo garland more stable.
Are you a perfectionist? Just measure the exact position for your pictures. But since I am a little improviser I like to place the pictures with a sense of proportion. And you know what? That’s also the quickest solution for all the lazy bones out there 😉
You see, it’s so easy to beautify your living room or to make your party location more colourful. You can find more inspirations here.
You have a great DIY-idea and you would like to have a tutorial from me? So give me a short message with your inspiration and I’ll answer soon.
Many greetings from our MyPostcard DIY workshop,
Greta.


Comments are closed.