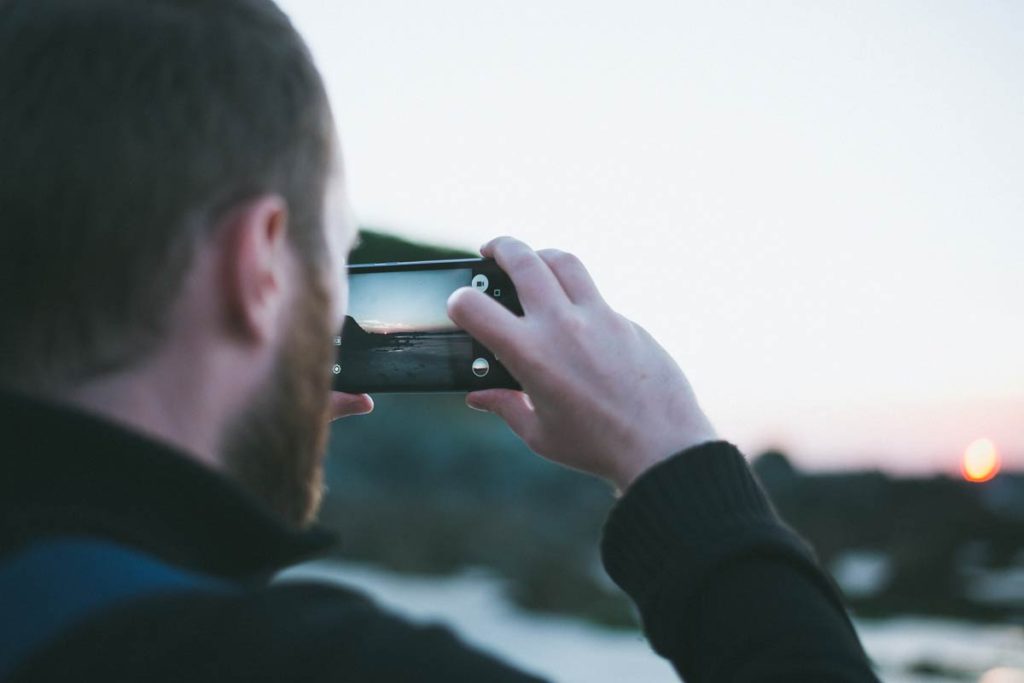
The cameras on our smartphones today are more powerful that some of the best digital cameras that were around two decades ago, and they just keep getting better. So smartphone photography becomes more an more important.
Perhaps the best part about smartphone cameras is that they’re almost always with us, so we don’t have to lug around a camera to capture the important moments of our lives. And since most of us capture a lot of those moments on a smartphone, it’s probably best to learn how to take better pictures with them.
We’ve got you covered with a few things to keep in mind the next time you pull that camera out of your pocket.
Smartphone Photography – Tip #1
Use Your Gridlines

Almost every smartphone camera on the market has gridlines that you can use to take more interesting photos, or there are apps available to give you the gridline capability. In basic photography, one of the main techniques that is taught is the rule of thirds, and those thine white lines that show up on your camera screen are essential to that.
The rule of thirds, in basic terms, essentially means that a photo tends to be more interesting when the subject is positioned a third of the way into the frame rather than in the center or far off to the side.
That’s why these gridlines are so useful for accomplishing this simple trick — all you have to do is align your subject on one of the lines, and you’re following the rule of thirds. You can align your subject a third of the way into the frame vertically, horizontally, or both. Try a few different positions to figure out what works best for your photo.
This tip also works for both portrait and landscape settings (however your phone is turned when you take the photo).
Smartphone Photography – Tip #2
Figure Out Your Phone Camera’s Capabilities
Smartphone Photography – Tip #2

Cameras on smartphones today have many of the features that used to only be available on more advanced cameras, but not everyone knows what these features are or how to use them. In many cases, you can focus your camera, adjust lighting and other elements of the photo’s composition, and so much more.
It’s a good idea to play around with your smartphone’s camera to figure out how each of these features work. You also can look up information about your phone’s camera online to find out more about it.
By learning more about your camera, you will be better prepared the next time you take a photo to make the most of the opportunity.
In addition to your camera’s capabilities that come standard, it’s also a good idea to look into photography apps for your phone to enhance the capabilities of your camera as well as what you can do to edit the photo once it’s been taken.
Smartphone Photography – Tip #3
Understand Your Phone Camera’s Relationship with Light

Because most phone cameras aren’t as advanced as the fancier digital cameras available today, they tend to follow a few automatic rules when it comes to lighting and exposure to try to get the best picture possible. Unless you plan to download an app and start setting your exposure and shutter speed on your own, it’s good to understand what your phone is already doing to compensate.
First and foremost, the absolute best time to take photos with your phone is during what photographers have dubbed the “golden hour,” or the hour around sunrise and sunset where the natural light is in the perfect condition for photos. Your phone’s camera will capture better photos during this light, because you don’t have to adjust much in terms of exposure.
But in addition to taking photos when it’s light out, we sometimes want to take photos when it’s a bit darker. This is where many smartphones struggle, because unless you want to turn the flash on it can be very difficult for phone cameras to pick up the subtle differences in scenes that are in the dark.
One thing you can do to improve your darker photos on your smartphone is by remaining as still as possible. In the dark, your phone’s camera automatically slows down the shutter speed to allow in as much light as possible.
While this is great for trying to capture details in the dark, it also often leads to blurry pictures because it allows in more movement. Try to brace your arms or your phone somehow before taking the picture, and avoid taking photos of anything that’s moving a lot in a dark environment.
We hope you enjoyed these tips! Since the smartphones is very often used for taking pictures of food, you maybe like to check out this introduction to food photography!


Comments are closed.