I hope you already have your favorite pictures ready, because I have a super-simple tip for hanging your photos on the wall with totally individual washi tape frames – no hammers or nails needed, guaranteed.
So, on to the washi tapes. Ready? LET’S GO!
Step 1
You’ll need these utensils

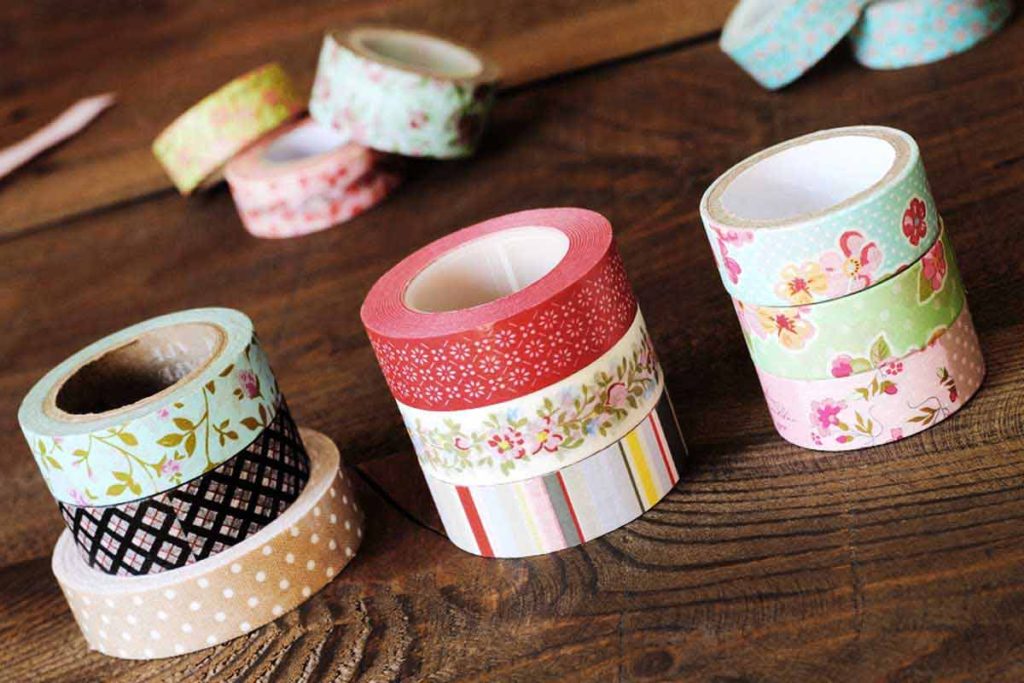
What do you need for your DIY washi tape frames? In addition to your most beautiful photos and postcards, you’ll obviously need washi tape in various colors and patterns. Scissor and glue are also indispensable for your original photo wall.
Step 2
You gotta have things in order!

Before you start with the gluing, you should first take the time to loosely arrange the photos on the table. You can move and realign the elements at any time – as long as you’re satisfied with your composition!
But do try out different arrangements! You can find some great inspiration for custom hangings here.
Step 3
Stick your cards to the wall

Have the right design? Perfect! Then grab the washi tape, cut off a piece and roll it once so you have a double-sided stretch of tape (better: for simplicity’s sake, I recommend double-sided adhesive strips). Now place the photos and postcards next to each other on the wall.
Some photos might not hang straight, which is why you can realign all of the elements again after the fact.
Step 4
Let loose your creativity!

All of the elements are hanging in the right place and the composition is harmonious – now you can release all of your creative fury, because it’s time to get sticky.
First, practice on a photo with basic gluing to get a feel for it. Pull out enough washi tape to make a frame – side by side. Cut clean corners, since the two sides need to overlap neatly.
Gotten the hang of it yet? No? No worries, nobody’s born a master. It’ll work even better with the next picture – try it out!
You can tape different versions with all kinds of washi tapes; everything’s allowed! You can simply tape multiple washi tape frames on top of each other, let them overlap, or invent new shapes and patterns. The heart shape on my wall came about totally spontaneously 🙂
Step 5
Your project – Your washi tape frames

Are you as excited about your DIY photo wall as I am about mine? Especially cool: the washi tape can be removed from your wallpaper just like that. That way, you can redecorate any time – without any drilling or hammering, guaranteed.
Lots of love,
Nadja from the MyPostcard team
P.S.: Why not share your DIY project with your friends on Facebook, Instagram, and Pinterest? Maybe you’ll inspire them with your creative results to try it themselves!


Comments are closed.