Easter is coming this weekend guys! You’re not prepared and have no idea what kind of present to bring to your loved ones? – We have the solution! Just check out our article, get inspired and start your Easter DIY crafting session.
Psst! You’re actually looking for DIY tutorials to decorate your Easter eggs? Look no further than these 4 classy Easter egg ideas.
Easter DIY #1
Bunny Mug

This cute little present is super fast and super easy! All you need is a porcelain pen and a white mug of your choice. Grab the pen and draw the bunny ears on the outside and a cute little bunny face on the bottom- That’s it! As easy as I told you, right?
 A little tip from me: Fill the mug with some nice sweets and a personal note.
Easter DIY #2
Chocolate Easter Bunny in a glass
 Our second DIY is as easy as our first one. I am showing you a new version of the traditional chocolate easter-bunny. All you need is a big glass, a chocolate Easter Bunny, Easter grass and some other little sweets of your choice.

First, take the glass and fill it with the Easter grass to create a nest for the bunny. Afterwards, you place the bunny in the nest and surround it with some sweets and you’re finished!
Easter DIY #3
Flower Decoration

Your favourite gift are flowers – What about a nice decorated bouquet as a gift for this Easter? This Easter DIY has no limit to your creativity! Let’s go!
 Your equipment: cardboard in the colors of your choice, ribbon (out of straw), scissors, glue, and some small cotton balls.

Every shape is possible. I decided to create some easter-bunny and funny fried eggs. Draw all the shapes you want on the cardboard, cut them out and attache the ribbon on the back. The first pictures show you the back of my bunny where I created a pom pom with a cotton ball.
Now all you need to do is to place the pieces wherever you like and afterwards you have beautiful and creative easter bouquet!
Easter DIY #4
Sweet Easter gift packaging

What would a gift be without packaging? Nothing! – Right? In our last DIY, we will show you how easy you can create some unique packaging for your little sweets.

You need some bags where you normally wrap in your sandwiches, glue, scissors, a pencil, some ribbon ( out of straw) and again some cotton.

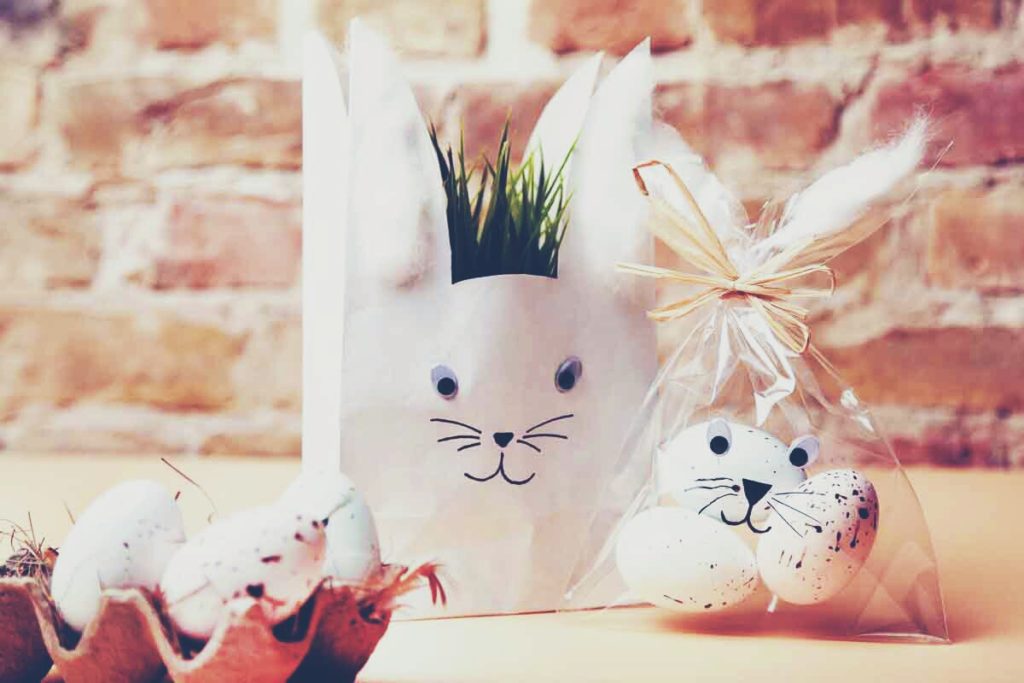
First step: Creating the bunny ears. Grab the sandwich paper bag and draw some ears on it. After this cut them out and you’re almost done.

To breathe life into your bunny bags draw some eyes, a nose and the mouth with the bunny teeth. Don’t forget the whiskers! If you want you can glue some of the cotton on the bunny ears to make it a little fluffy. If you want you can use some shrink- wrapping to have some variations ( like we did on our photos)
We hope we were able to inspire you and that you liked our Easter DIY’s.
HAPPY EASTER and good luck with the Easter egg hunt,
your Greta from MyPostcard.


Comments are closed.